Disclaimer: this is a quick draft, just so that I can claim I still published it in 2020 :D, may include many errors
Why Ergodash
I’ve always knew about the big community around custom keyboards, but never really got interested in building one, as they are rather expensive, and the price of them outweight the positive reasons why I would build one.
That changed a bit when few people around me switched to custom split keyboards. I’ve had some ongoing long-term wrist pain caused by the bit weird way I have my hands laid on standard QWERTY keyboard layout. The split keyboards I saw intrigued me, mostly because I could adjust each half exactly as I need and hopefully allievate the wrist pain by reducing the wrist bending.
The keyboards people built around me were GergoPlex, Corne and ErgoDash. From these, the first two are very minimal, utilizing layering heavily. I did not really want to switch to a different layout and I also want to keep the smaller split layout as similar to normal QWERTY, as I want to be able to still easily switch between this and a normal keyboard. Thus the two main keyboards that I got interested in was the ErgoDash and Helix. Those are fairly similar, being ortholinear (no staggered columns) and missing enough rows to have a full F-key row. I ended up going for ErgoDash, as it has the offset columns, which are more ergonomic, and I also had a person nearby to ask questions. Helix still looks bit sleeker in my opinion though.
Sourcing parts
I’ve bought the PCBs at Keycapsss. They also sell a full parts kit, but I opted to source the parts myself to save some money. I went with the SMD version of the diodes, bought here. I have no problem soldering small SMD parts, so those were easy, but if you are a beginner I would go with the through hole version. I did not buy parts for the key backlight, as I do not have translucent keycaps anyways. The arduinos and WS2812 RGB LEDs are from Aliexpress. I also opted to not populate the reset buttons, as I can just short them out with tweezers or such when needed.
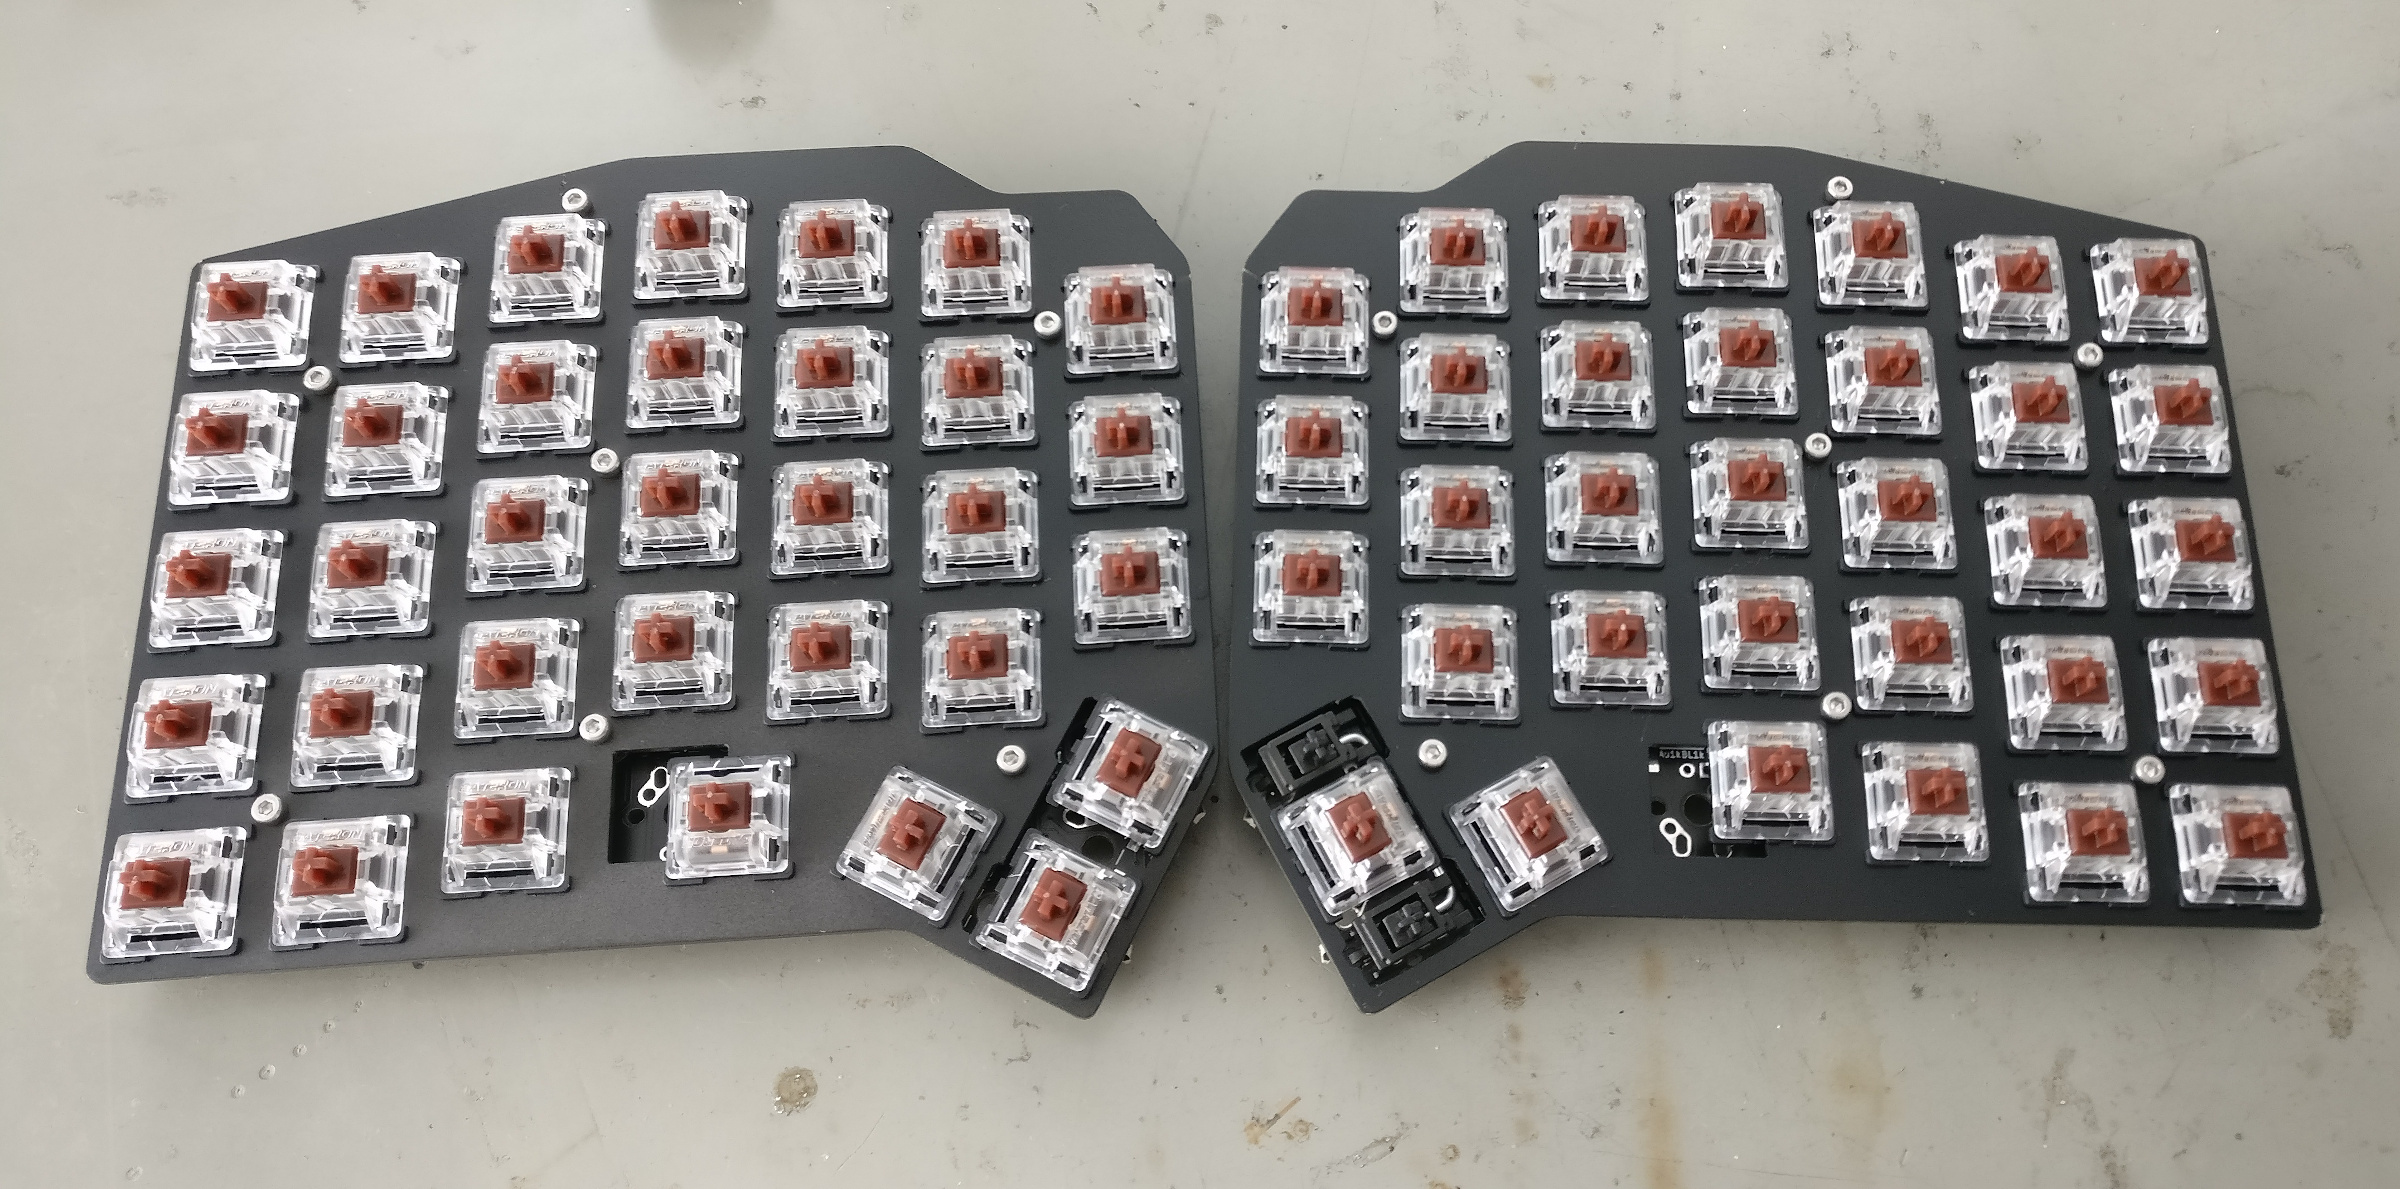
As for the switches, I went with the budget Gaterons, bought at Aliexpress. I had a switches similar to Browns in my previous keyboard, so I just went with them because of experience. I needed one 2U stabilizer, and I bought that on Aliexpress too. Since then I’ve tried some other switches and probably would go with some linear or tactile switch from Kailh.
The keycaps are cheap-ish Metropolis clone I found on Banggood, in Cherry profile (that poses a bit of a issue, more on that later). I chose the kit as it had enough 1U keycaps to cover all switches.
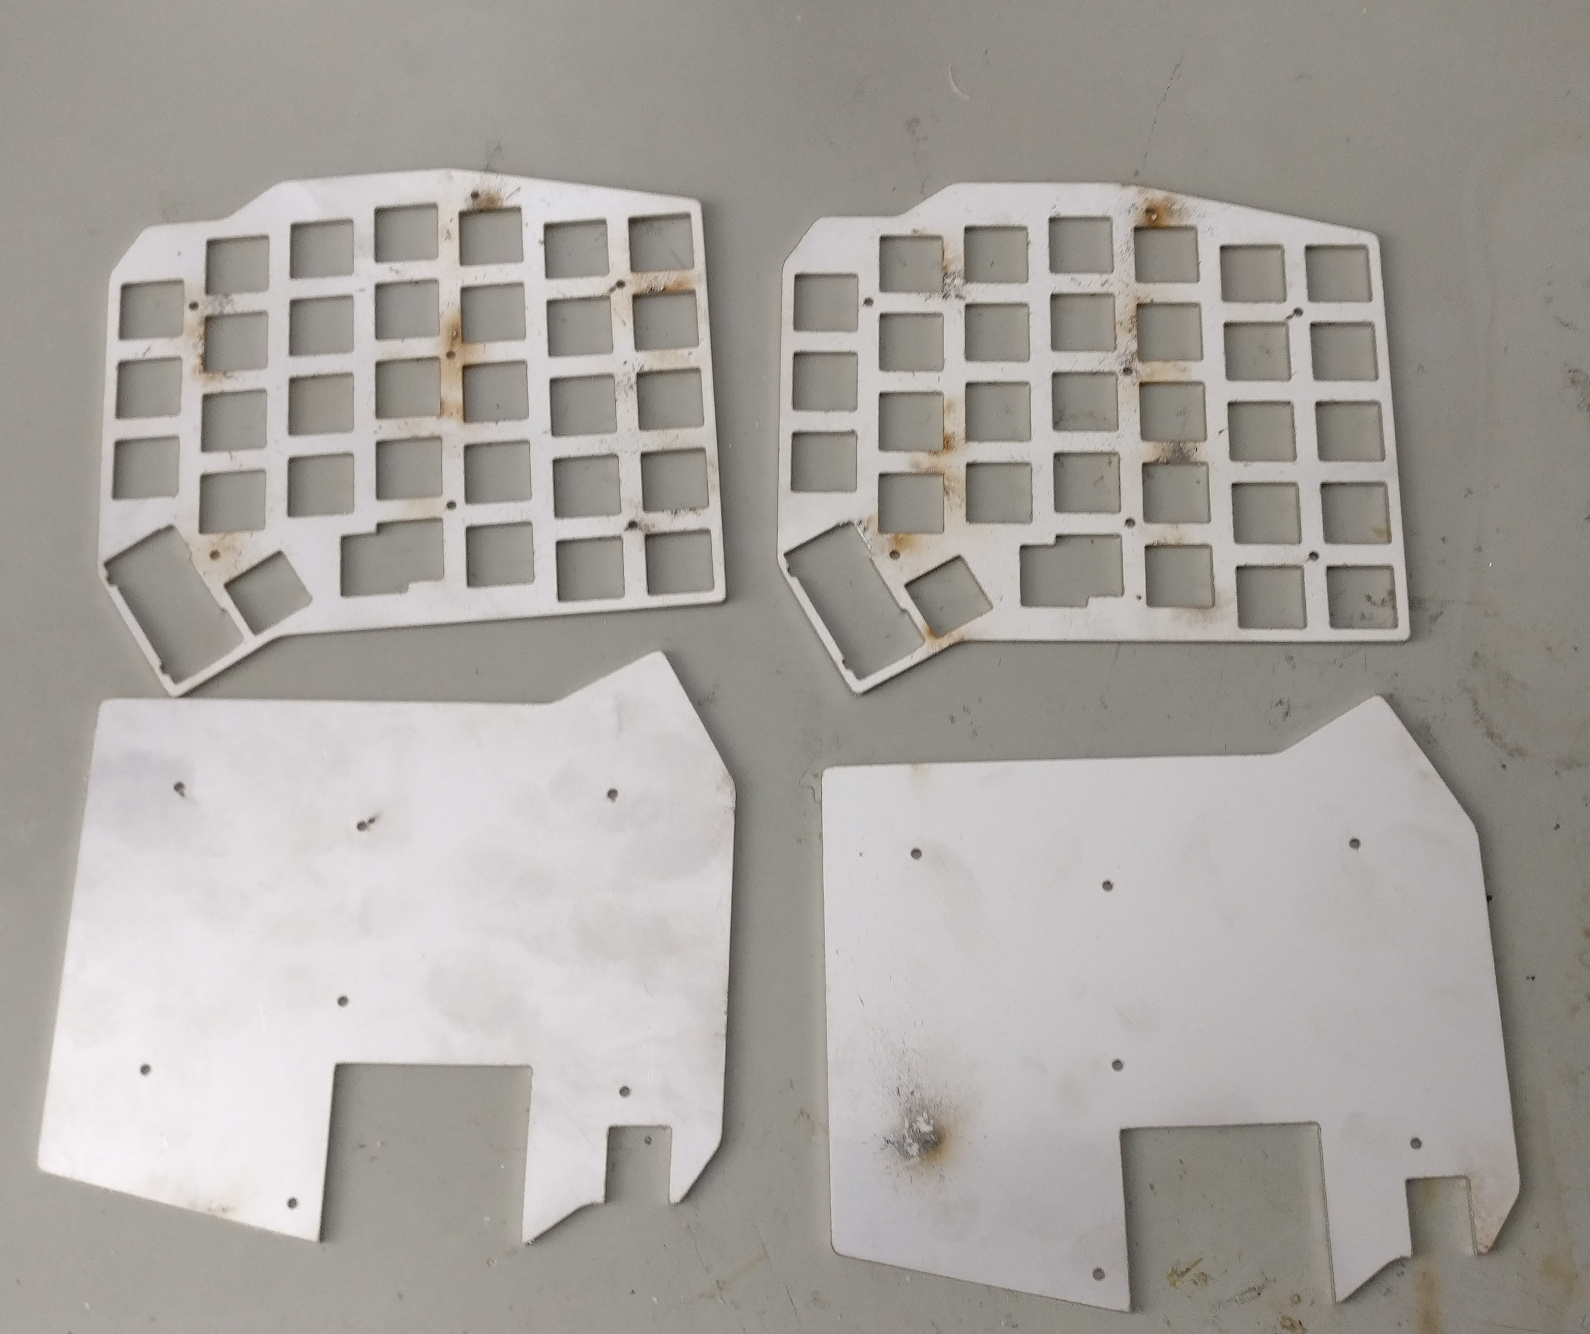
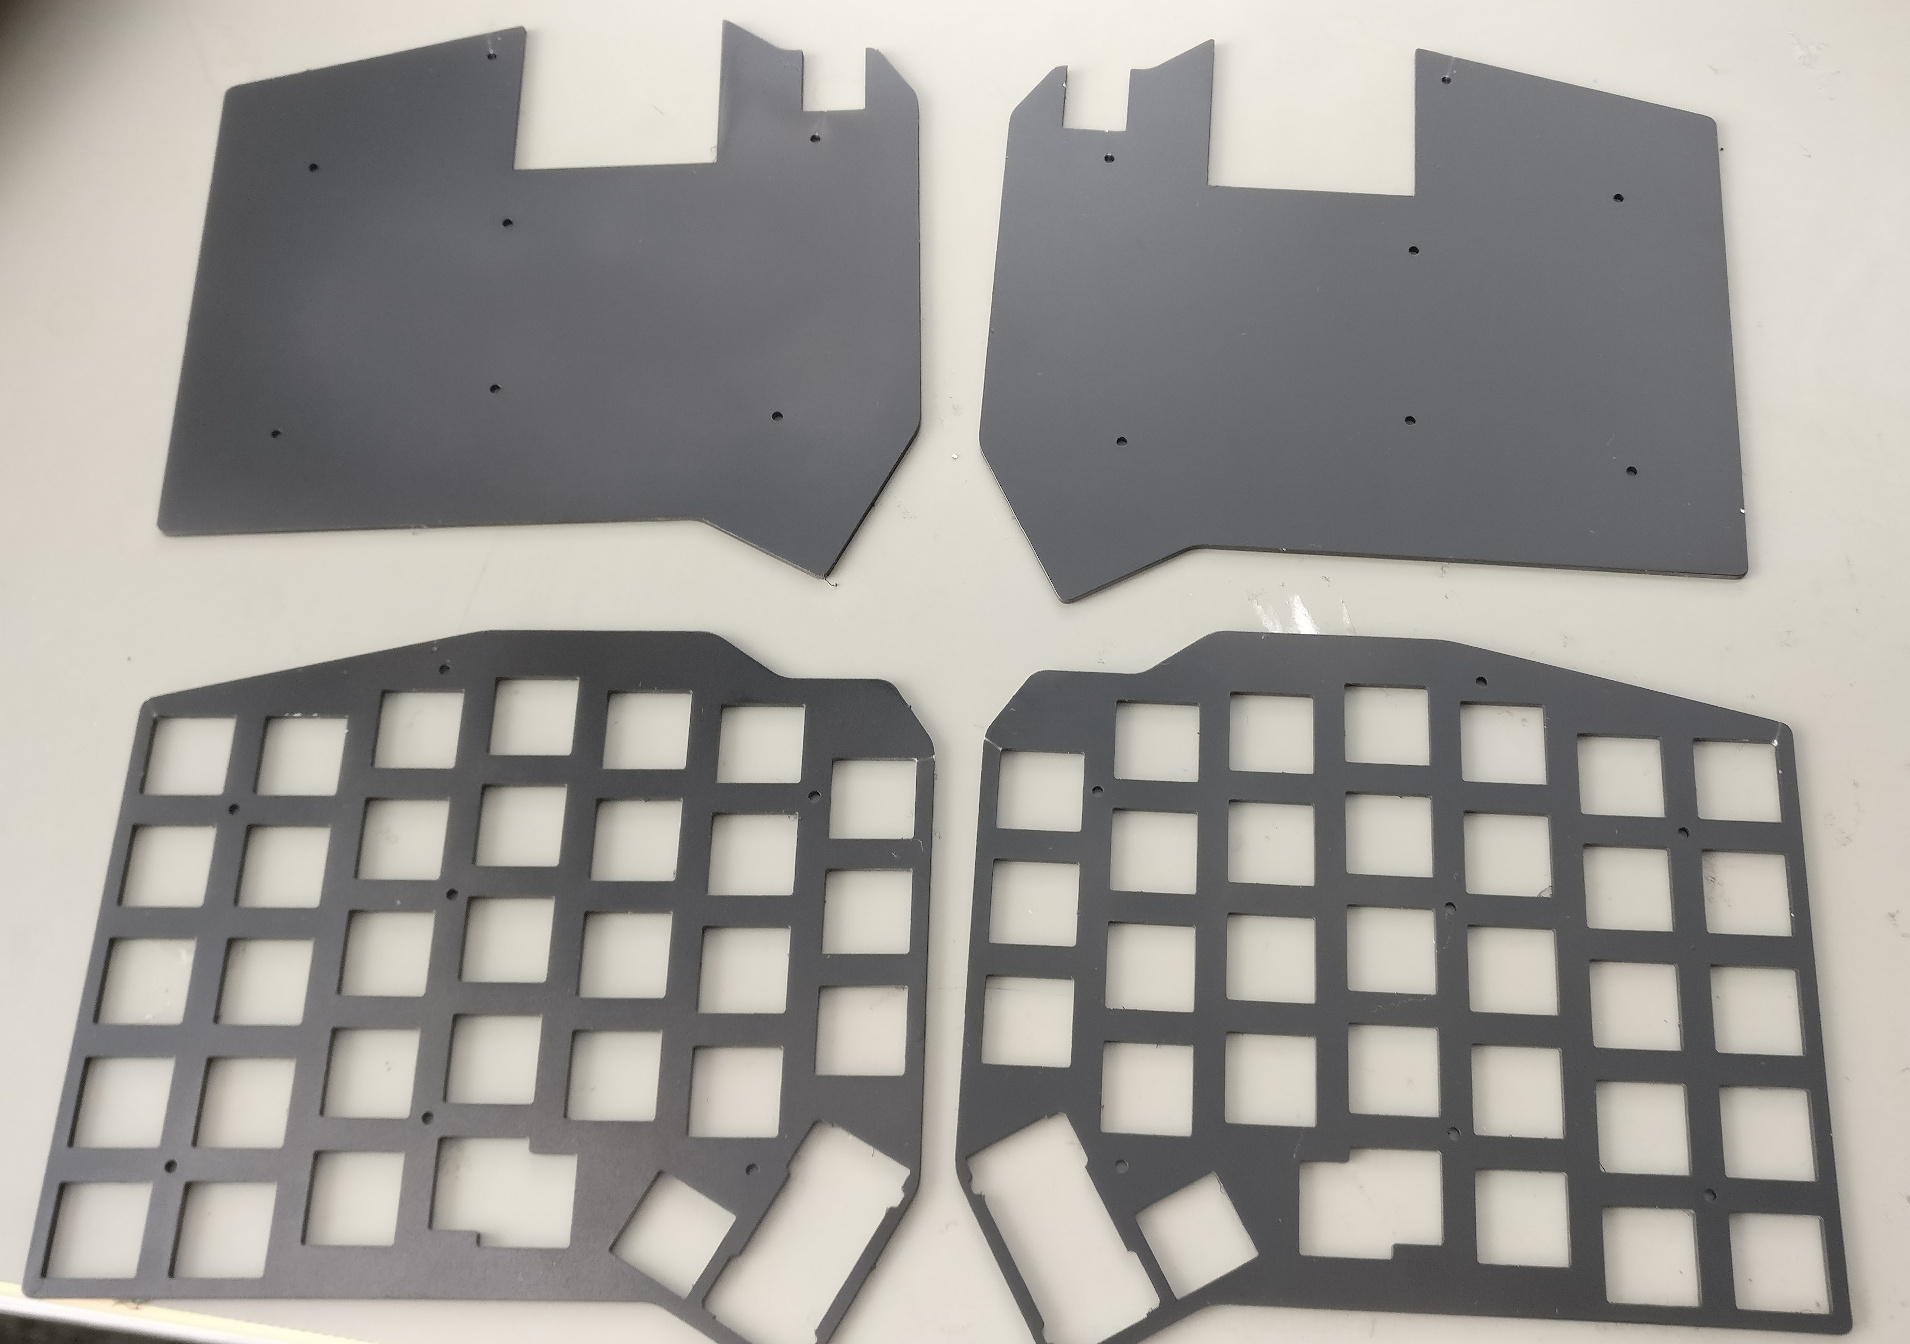
The required plates were the hardest to source, I could have bought the acrylic version sold by Keycapsss, but I decided to get the plates laser cut at iDilna.cz from 1.5mm thick stainless steel.
Build process
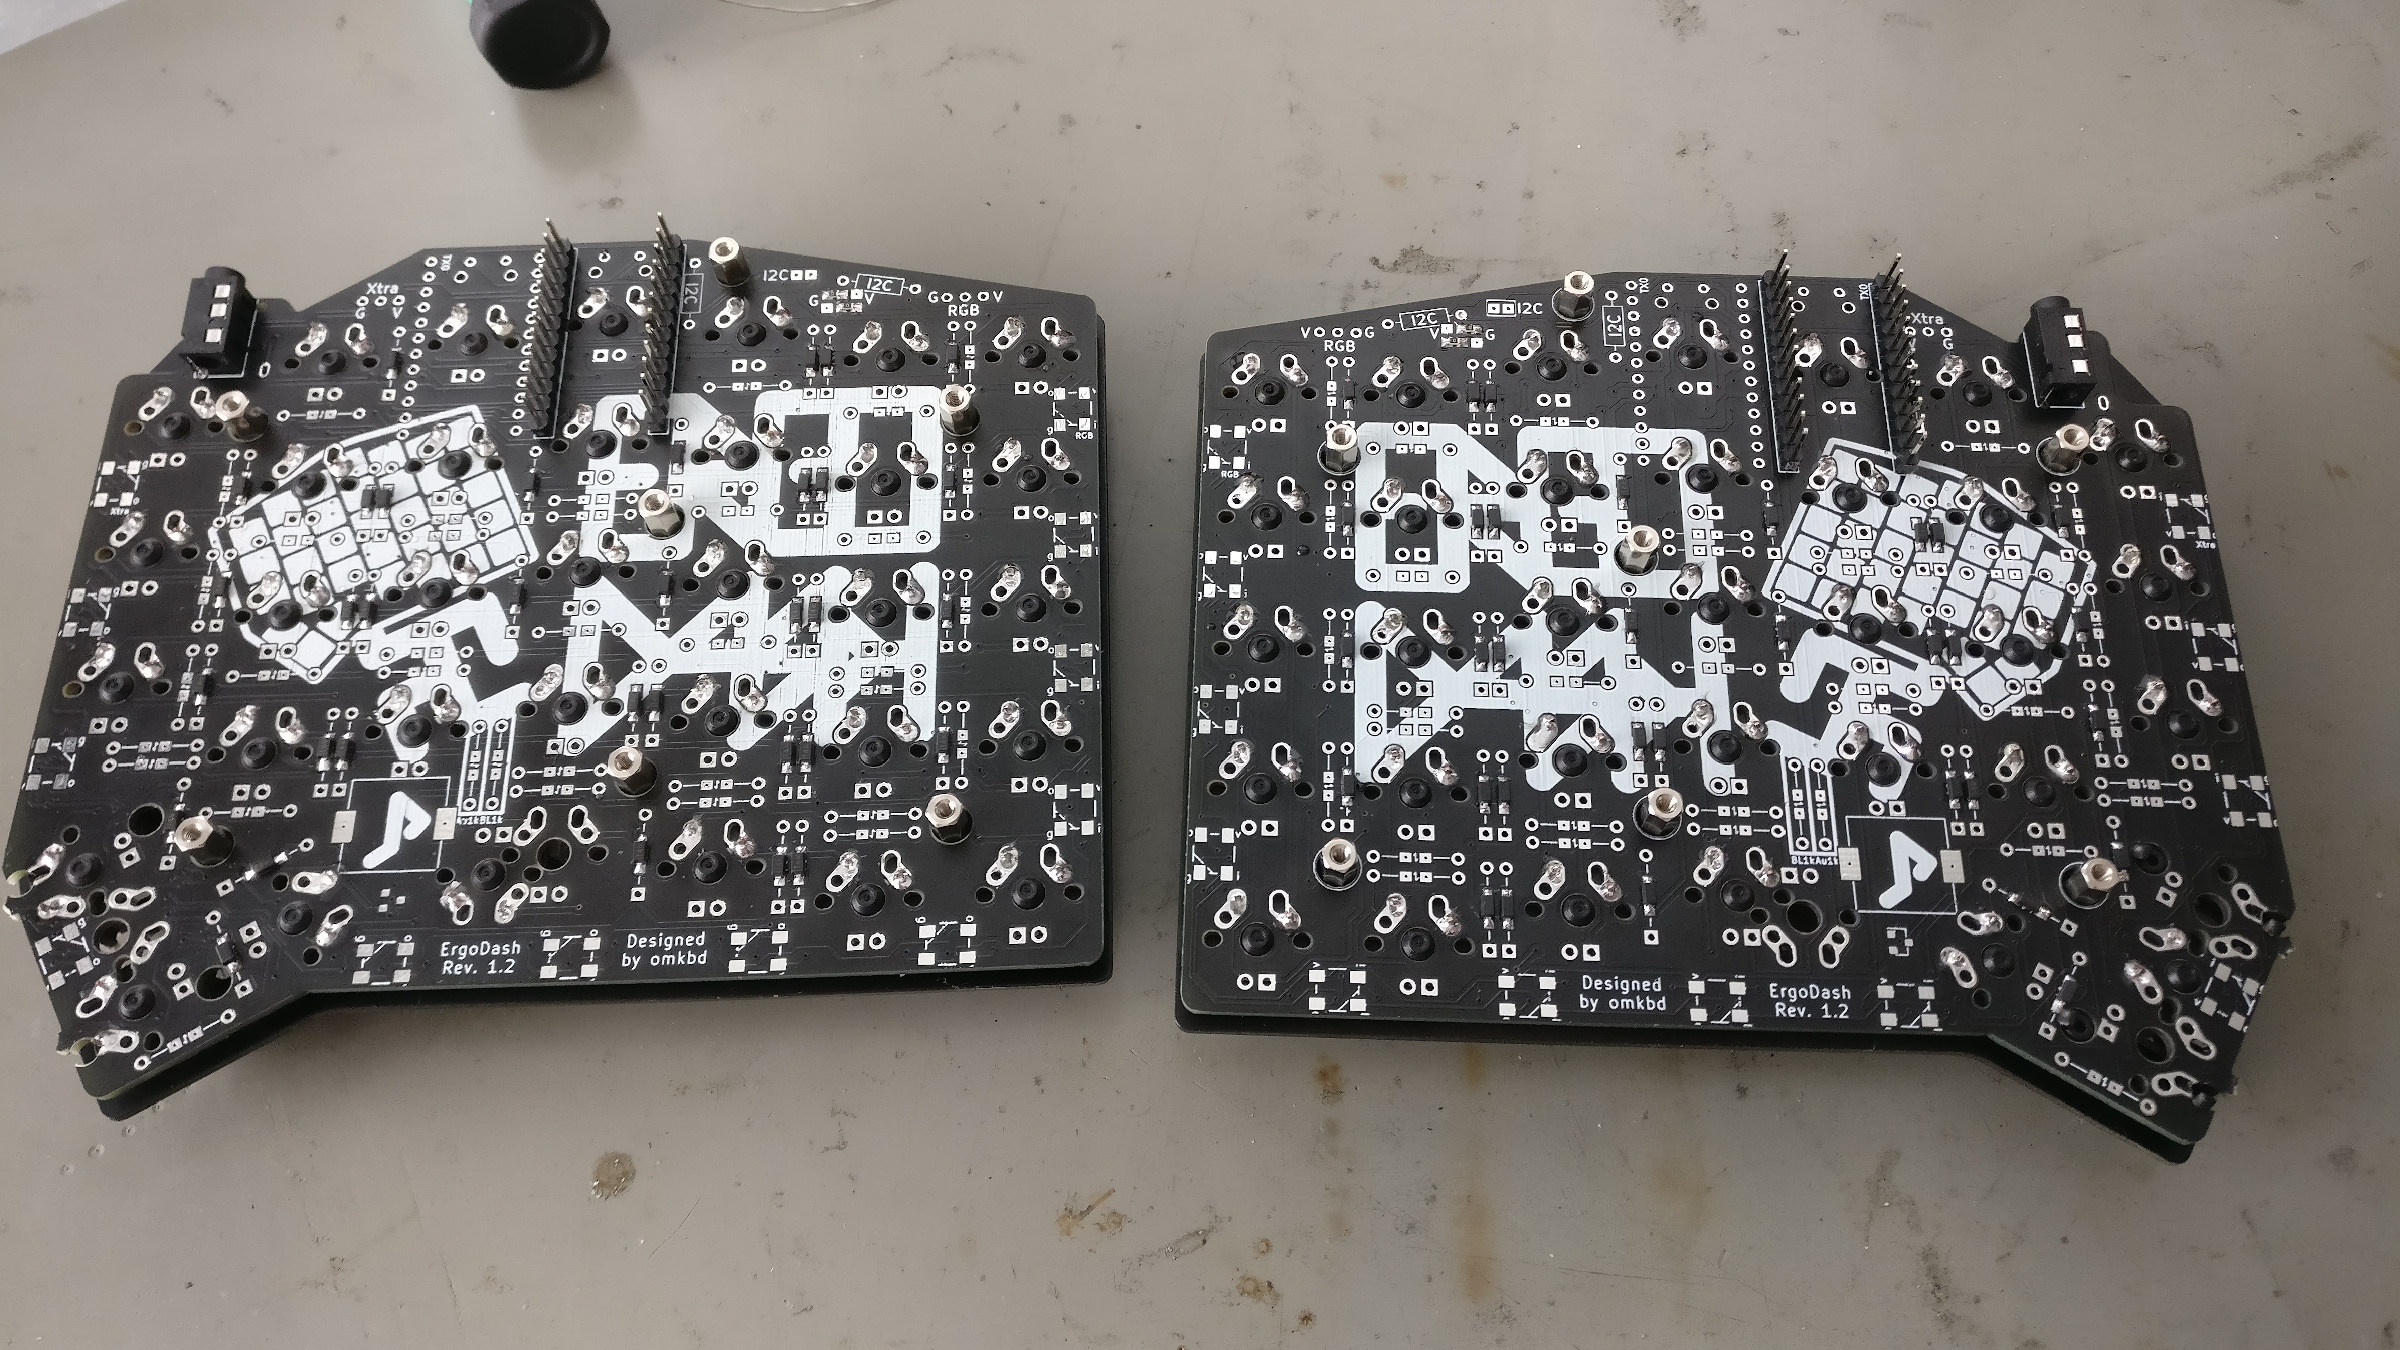
The build is faily straight forward. The build guide available at the GitHub repo is fairly good and I’ve mostly followed that.
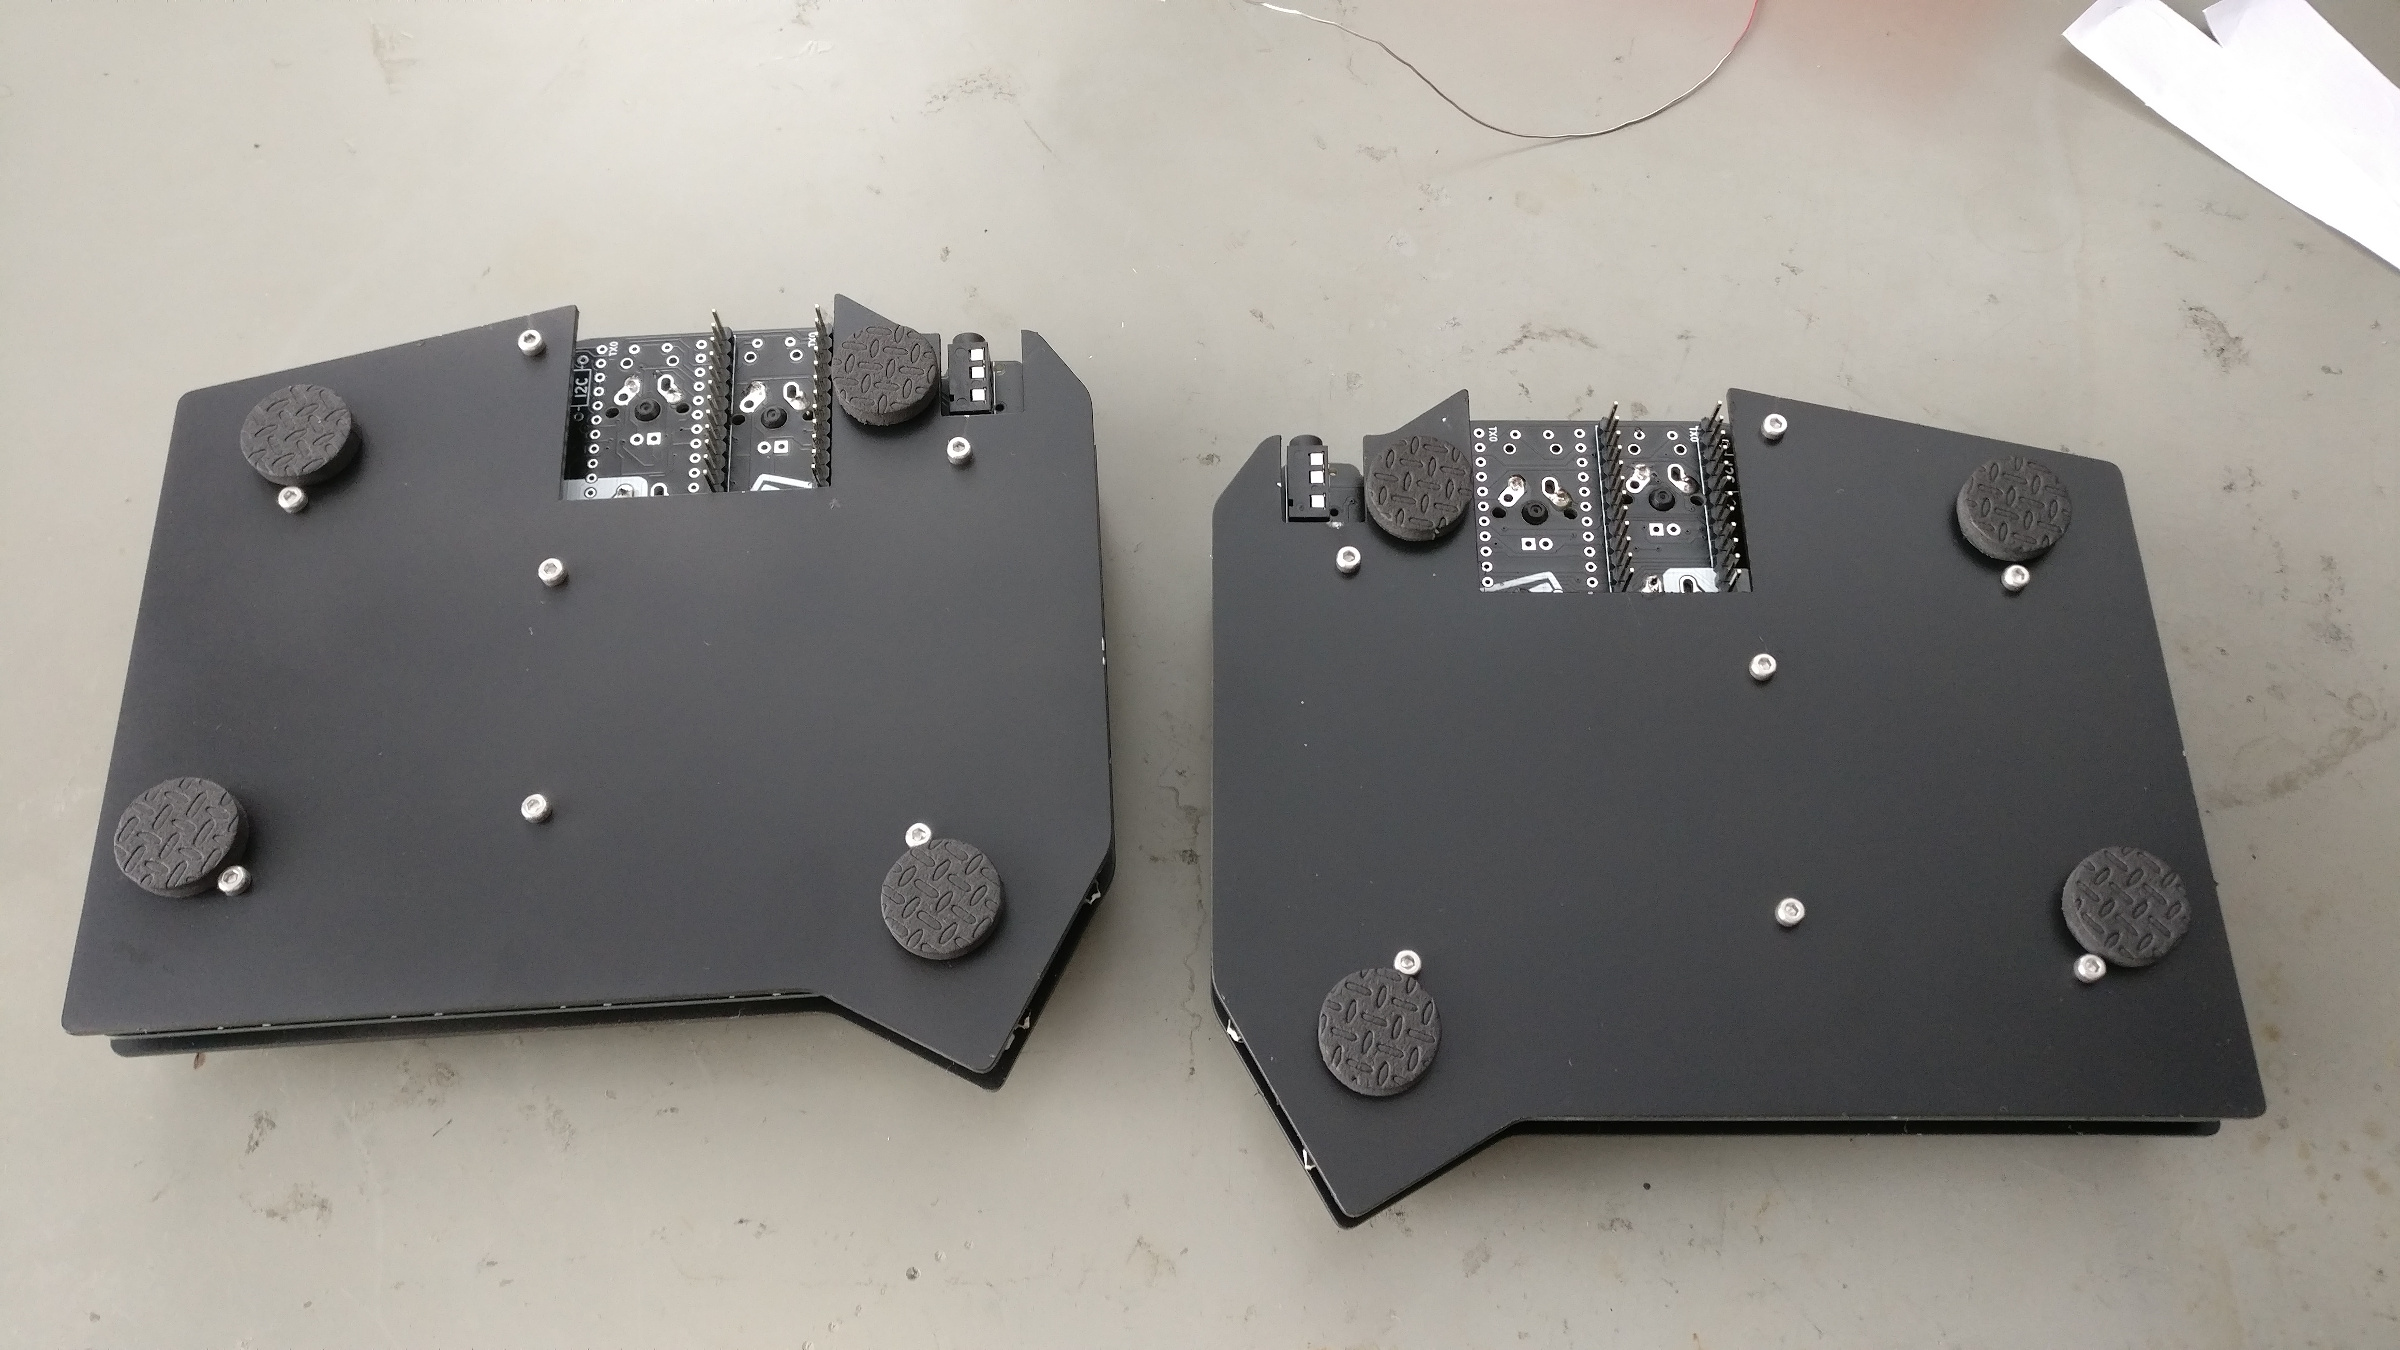
I did not encounter any problems, and the build took me around 3 hours - but that does not include the time required for spraying and drying of the plates, which took around 1 hour of painting (neutral base and black coat) + overnight drying. There are few pictures of from the build at the end of the article.
Customization
The ErgoDash has few physical layout options: I opted for the smaller thumb cluster, with one large key on the right side, and two small keys on the left. The 4th button of the bottom row also has two positions available, and again, I have different positon on the left and right half.
As far as the layout goes, it’s mostly identical to the default ErgoDash layout, with some keys switched around. You can see the layout by uploading the keymap.json to the QMK Configurator.
(Some more info will be added soon-ish)
Experience
Currently I’ve been using ErgoDash as my primary keyboard for about half a year. I did not expect to get this much use out of it, but because of the pandemic, I did basically all my school stuff on my main desktop PC at home, with the keyboard. So far it has been very pleasant experience.
The first few weeks were mostly getting used to the bit different layout and tweaking it a bit, the largest differences being(for me personally):
- I can’t press YHN with my left index finger and TGB with my right index
- square/squiggly brackets are now on index fingers, and few other symbols
- I can’t press spacebar with my right thumb
- Enter is now on right thumb
- arrow keys are in single row
Surprisingly, my typing is now a lot more “correct” and I do less mistakes - it’s a lot more close to touch typing, as I basically had to re-learn the positions of all keys. Before, I had my weird way of typing with all my 8 (10) fingers. I still do not fully touch type - I do not look at the keyboard, but I do not follow the proper touch typing method still. There’s also a lot of efficiency to gain by customizing my layout, further straying from a normal keyboard layout, mostly by using the layering lot more.
Longterm, I noticed that my left hand is getting a lot more usage than right. That’s due to the QWERTY layout having more letters on the left half. I started toying with the idea of switching to different layout, either dvorak or colemak. But I currently do not have the time to re-learn how to type. I also would like to switch around the keycaps to new layout if I switch to it, but that’s bit of a problem, as my keycaps have a Cherry MX profile, which means that each row has different height and profile. So if I exchange two keycaps from two different rows, it will be fairly uncomfortable. I might switch to some DSA or XDA profile keycaps, which are uniform.
It also fulfilled the main reason I built it: my (mainly left) wrist now doesn’t get tired that quickly and the pain basically disappeared. It is not perfect though. The keyboard is high, so I should have wrist rests and I am also thinking about adding a tilt legs to the keyboard, so I can tilt/rotate to achieve even more comfortable position.
I expected that I’ll loose my ability to type quickly on normal keyboards, because of the different layout and non-stagered rows. This did not really happen, but I definitely got bit slower on normal keyboards (apart from my laptop keyboard, which I use fairly often), but it’s not as big of a difference I thought it would.
Summary
I’m digging the ortholinear layout, without the stagered rows and the thumb clusters. It did help with my wrist problems and I did not loose as much speed. There are still some tweaks to make, mostly with ergonomics. It’s also tiny, not taking up a lot of space on my table and it’s a great conversation starter. Most people are quite surprised by just looking at it, more so when they have to type on it. It’s also interesting to watch people with varying typing proficiency trying to type on it.
2023 Update
The Micro USB ports of the Arduinos on both halves have broken and thus the keyboard has been gathering dust on a “to fix” shelf for the last year. I am planning to build another split keyboard, although I can’t find anything that would satisfy my needs, so I am contemplating designing my own, mostly a mix of Ergodash and Sofle.
Pictures
